
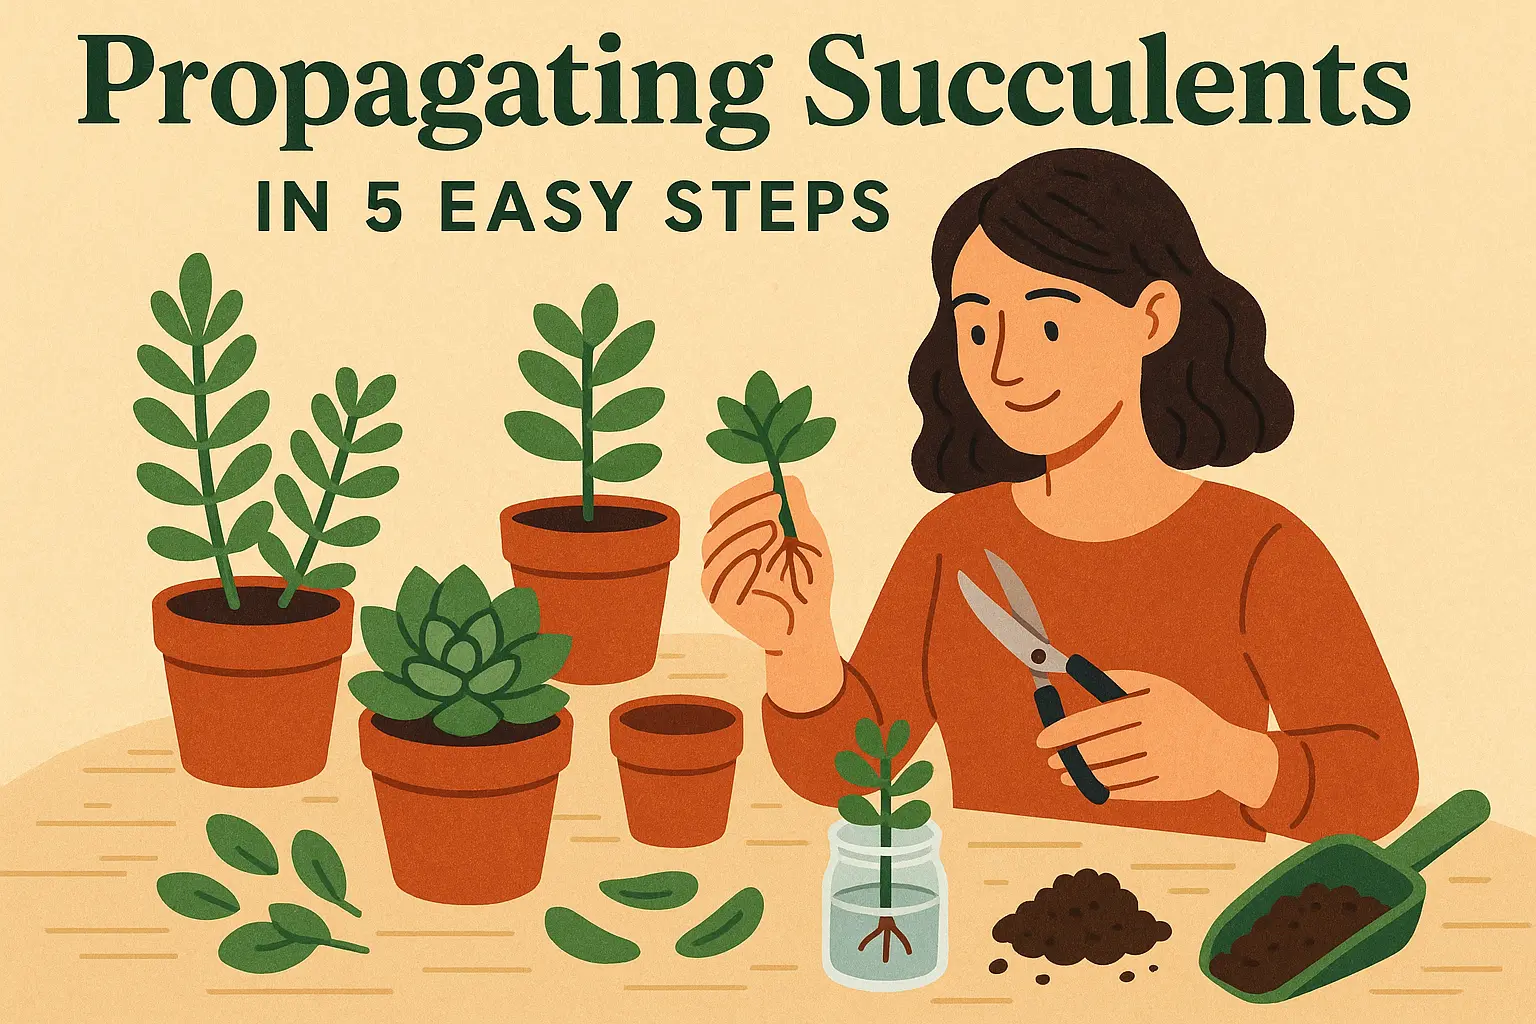
Why Propagate Succulents?
Succulents are xerophytes—shallow-rooted plants that store water in their fleshy leaves and stems. They thrive with minimal irrigation, indoors or out, and come in a dazzling range of colors, shapes, and sizes. Propagating lets you multiply your favorites quickly and affordably while creating striking displays in pots, rock gardens, and xeriscapes.
What You’ll Need
- Clean scissors or pruners for cutting stems and leaves
- A tray, dish, or any container to hold drying cuttings (no soil or water required at first)
- Pots with drainage holes or a garden spot with excellent drainage
- Cactus/succulent potting mix, or regular potting soil amended with a handful of sand or perlite
- Optional: decorative stones or pebbles for topdressing
The Methods at a Glance
- Offsets/plantlets (aka pups or chicks): Separate and replant the rooted mini-plants around the mother.
- Division: Lift a clump and gently tease roots apart into multiple plants.
- Leaf cuttings: Twist off whole, undamaged leaves to root new plants.
- Beheading: Remove the top rosette with about an inch of stem to form a sturdier new plant; the remaining stem often resprouts.
Step 1: Choose Your Starting Material
- For quick wins, look for offsets (hen-and-chicks style rosettes or cactus pups) and clumping plants you can divide.
- For leggy or stretched plants, plan to behead the rosette and use lower leaves for cuttings.
- Healthy growth makes the best propagating stock.
Step 2: Take Cuttings or Divide
- Offsets/Division:
- Gently unearth the plant and separate offsets or tease clumps apart without breaking roots.
- Keep roots as intact as possible.
- Leaf Cuttings:
- Twist and lift individual leaves so the entire base comes away cleanly. Avoid tearing.
- Some types (e.g., Christmas cactus) may need to be snipped.
- Beheading:
- Cut the stem about an inch below the lower leaves of the rosette for a clean top cutting.
Step 3: Callus and Root (Keep It Dry)
- Place leaves and stem cuttings dry on a tray—no soil, no water.
- After ~5 days, check for a dry callus sealing the cut end (this helps prevent rot).
- Over the next few weeks, roots will form. Leaf cuttings may slowly wither as they feed their emerging plantlets.
- Key rule: keep everything completely dry during this period.
Step 4: Pot Up or Plant Out
- Containers: Fill with a cactus/succulent mix, or regular potting soil amended with a handful of sand or perlite for sharp drainage. Lightly mound the surface and set rooted pieces in place. Do not water at planting.
- In-Garden: Choose a sunny spot with well-drained, crumbly soil. Make a shallow depression atop a slight mound to accommodate the roots. Nestle plants in, cover roots with about an inch of soil, and tamp gently. Do not water at planting.
- Optional: Top with decorative stones or pebbles.
Step 5: Aftercare and Feeding
- The next day, water sparingly, then gently tamp again to secure roots.
- Provide bright light; succulents grow pale with too little sun and can rot if kept too wet.
- As growth picks up and plants acclimate, begin feeding with a cactus/succulent fertilizer per the manufacturer’s directions.
Optional: Root-on-Top Nursery Tray Method
Lay fresh cuttings directly on top of dry potting mix in a nursery tray to callus and self-root in place. Keep the mix completely dry while they callus and initiate roots, then proceed with gentle watering.
Special Note on Cactus Propagation
- Barrel types often produce pups you can remove and plant.
- Christmas cacti can be propagated from individual leaf segments that are cut, callused, and rooted.
- Columnar cacti: Cut a piece about an inch in diameter from the top or side. Leave it undisturbed on a dry surface for a few months to callus and root, then plant.
Troubleshooting and Tips
- Rotting cuttings usually mean excess moisture—keep cuttings dry until callused and rooted.
- Don’t rush watering. Plant dry, then water lightly the following day.
- Record what works best for each variety; expect the process to take a few weeks.
- Group mixed varieties for striking textures and colors in containers or rock gardens.